
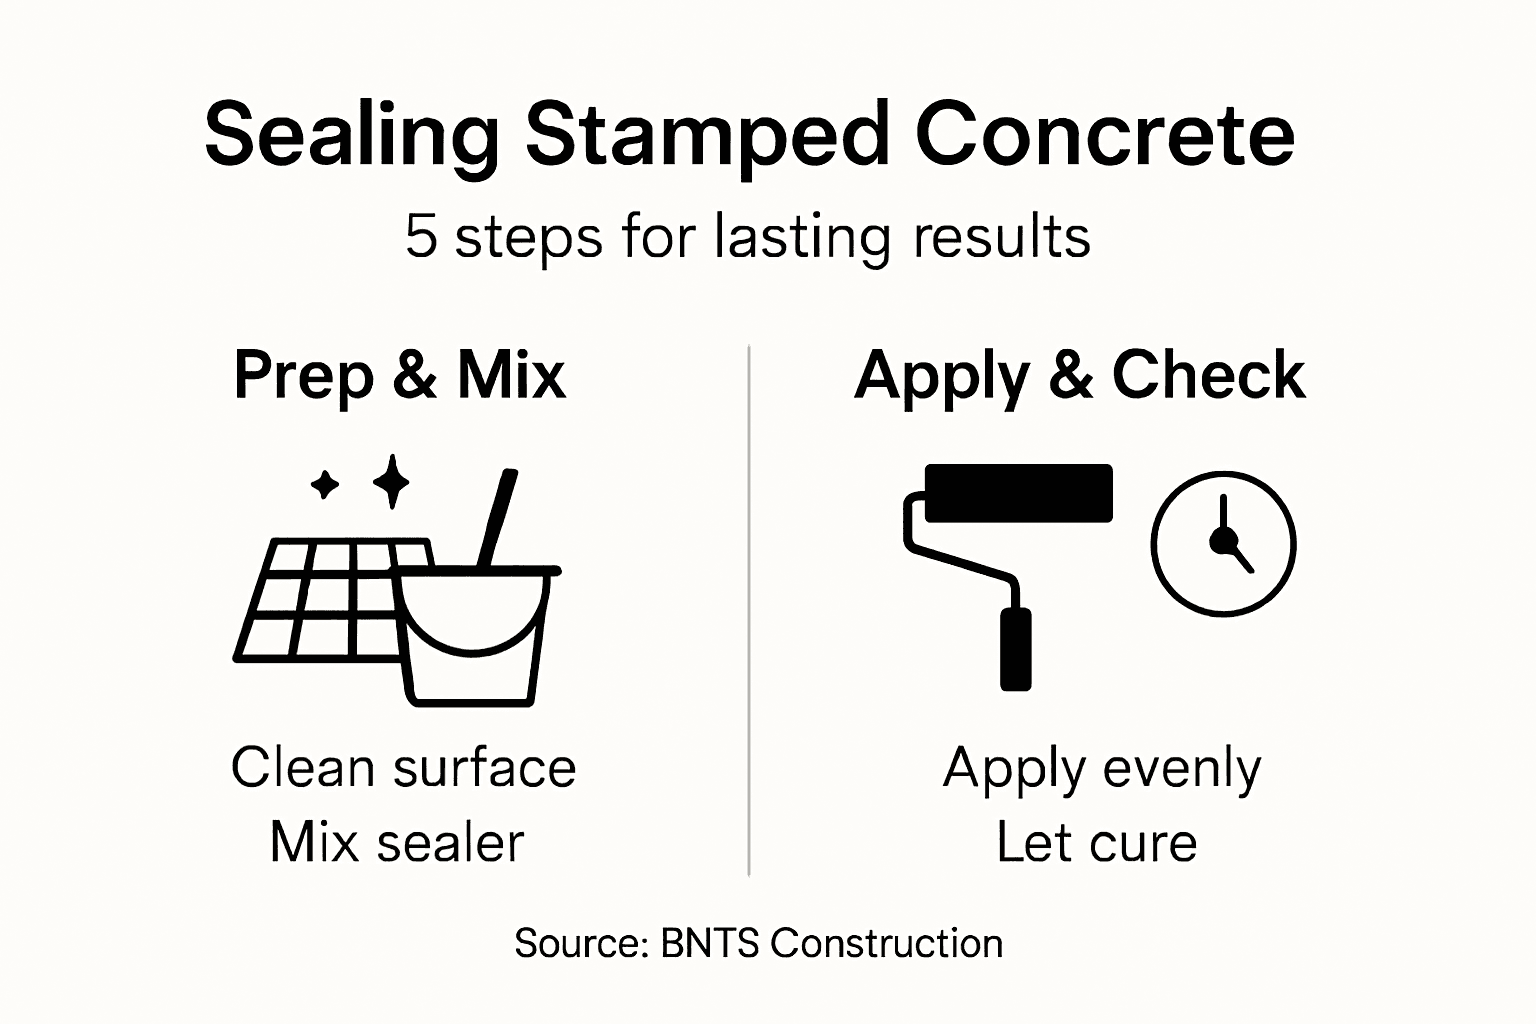
How to Seal Stamped Concrete for Long-Lasting Results
- tbsinfotech5
- Feb 2
- 8 min read
Stamped concrete patios and walkways in Northern Virginia face everything from humid summers to unpredictable winter weather. Without the right maintenance, these decorative surfaces risk losing their vibrant color and inviting look. Proper sealing is not just about visual appeal—it forms the foundation for long-lasting surface protection and resilience. This step-by-step guide breaks down critical preparation, selection, and application methods, streamlining the process for homeowners who want durable, stunning concrete that withstands the region’s toughest elements. For lasting results, focus on thorough surface preparation and smart sealer choices.
Table of Contents
Quick Summary
Main Insight | Detailed Explanation |
1. Thoroughly clean surface before sealing | Remove all debris and contaminants to ensure optimal sealer adhesion and long-lasting performance. |
2. Choose the right type of sealer | Consider finish, durability, and maintenance needs; select between topical, penetrating, or hybrid sealers. |
3. Apply sealer evenly with proper tools | Use appropriate tools and techniques to achieve a smooth, uniform coat that enhances durability and appearance. |
4. Allow sealer to fully cure | Ensure ideal temperature and humidity for proper curing, avoiding foot traffic and rain to enhance protection. |
5. Inspect for uniformity after sealing | Check for consistent color, gloss, and coverage; make touch-ups if you find any imperfections. |
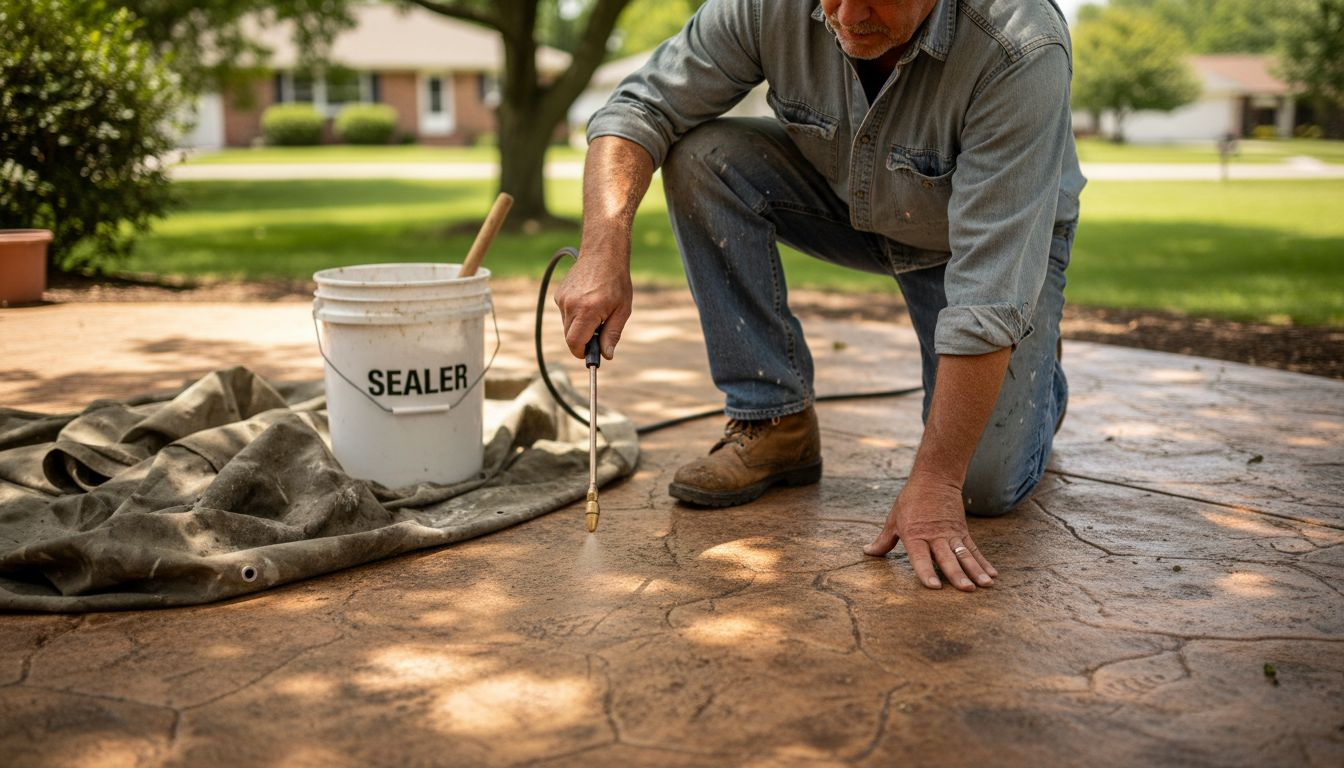
Step 1: Clean and Prepare Stamped Concrete Surface
Cleaning and preparing your stamped concrete surface is a critical first step in ensuring a successful sealing process. This stage sets the foundation for optimal sealer adhesion and long-term durability of your decorative concrete surface.
Begin by thoroughly removing any dirt, debris, and potential contaminants from your stamped concrete. Proper cleaning techniques are essential for creating a pristine surface that will accept the sealer effectively. Here are the key steps to prepare your surface:
Remove loose debris using a stiff-bristled broom or leaf blower
Power wash the surface to eliminate dirt and grime
Inspect for any oil stains or stubborn residues that might require specialized treatment
Allow the concrete to dry completely after washing
Power washing requires careful technique. Use moderate pressure to avoid damaging the decorative stamped pattern. For surfaces with existing release agents or stubborn contaminants, a light acid washing might be necessary. This process opens the concrete’s pores and ensures better sealer penetration.
Proper surface preparation is not just about cleaning - it’s about creating the ideal foundation for a long-lasting protective seal.
After washing, allow the concrete to dry completely. Moisture can prevent the sealer from bonding correctly, so patience is key. Depending on weather conditions, drying might take 24-48 hours. Use fans or wait for dry, sunny conditions to expedite the process.
Pro tip: Test the surface dryness by placing a small piece of clear plastic on the concrete - if no condensation forms underneath after several hours, the surface is ready for sealing.
Step 2: Choose and Mix the Right Concrete Sealer
Selecting and preparing the appropriate concrete sealer is crucial for achieving a long-lasting, attractive finish for your stamped concrete surface. The right sealer will protect your investment while enhancing its aesthetic appeal.
Concrete sealers function through different protective mechanisms, with three primary categories to consider:
Topical sealers: Create a protective film on the surface
Penetrating sealers: Bond chemically within concrete pores
Hybrid sealers: Combine characteristics of both topical and penetrating types
When choosing a sealer, evaluate your specific needs based on several key factors. Consider the desired finish, color enhancement, durability requirements, and maintenance expectations. Topical sealers offer excellent color enhancement and gloss but may require more frequent reapplication. Penetrating sealers provide longer-lasting protection without changing the concrete’s appearance.
Here’s how different concrete sealer types compare for stamped surfaces:
Sealer Type | Finish Effect | Durability | Maintenance Need |
Topical | Glossy/enhanced color | Moderate | More frequent reapplication |
Penetrating | Natural/no color change | High | Minimal ongoing maintenance |
Hybrid | Semi-gloss, subtle tint | Good | Balanced between topical and others |
Your sealer choice directly impacts the long-term performance and appearance of your stamped concrete surface.
Mixing the sealer requires careful attention to manufacturer instructions. Always stir thoroughly to ensure uniform consistency and prevent application defects. Use a clean, wide-bottom container and mix using a drill with a paddle attachment, making smooth, consistent motions to avoid introducing air bubbles.
Pro tip: Test your sealer on a small, inconspicuous area first to verify color enhancement and compatibility with your specific stamped concrete surface.
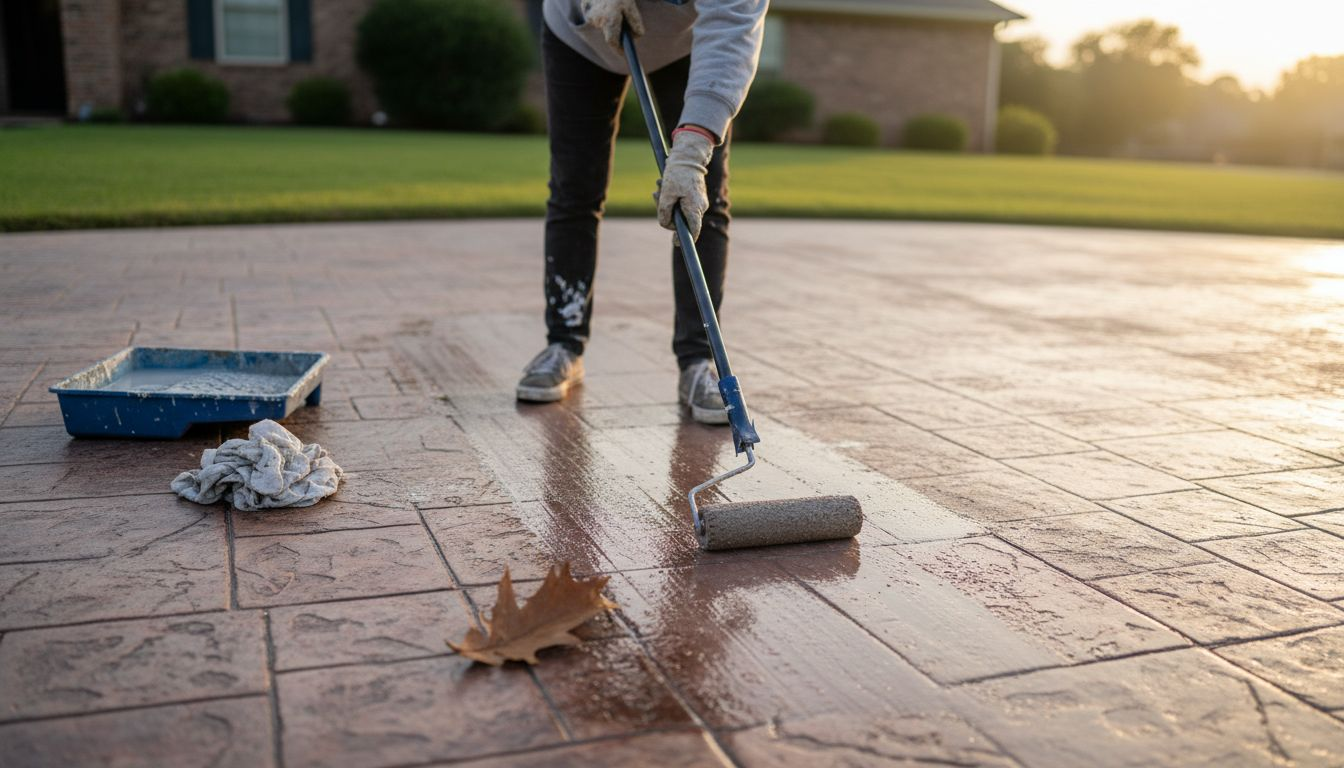
Step 3: Apply Sealer Evenly Using Proper Tools
Applying concrete sealer requires precision, patience, and the right equipment to achieve a professional-looking, protective finish on your stamped concrete surface. Your goal is to create a uniform coating that enhances durability and appearance.
Sealer application demands specific environmental and technical considerations. Choose your application tools carefully based on the sealer type and surface characteristics:
Low-nap synthetic rollers for smooth, even coverage
High-volume, low-pressure (HVLP) sprayers for large areas
Fine-finish brushes for detailed or hard-to-reach sections
Airless sprayers for water-based sealers
Application technique is critical to prevent common issues like bubbling, streaking, or uneven coverage. Work in thin, consistent layers, maintaining a wet edge to ensure seamless application. For optimal results, apply sealer when temperatures are above 45°F and humidity is low.
Consistent, controlled application is the key to a professional-grade sealed concrete surface.
Pay close attention to your movements, overlapping each pass slightly to guarantee complete coverage. Move systematically across the surface, using long, smooth strokes to prevent puddling or uneven thickness. Allow adequate drying time between coats as specified by the manufacturer.
Pro tip: Wear clean, lint-free socks and work on a clean surface to minimize the risk of debris contaminating your fresh sealer application.
Step 4: Allow Sealer to Cure Fully for Maximum Protection
The final and crucial step in sealing your stamped concrete is ensuring complete and proper curing. This phase determines the long-term performance, durability, and protective qualities of your newly sealed surface.
Concrete sealer curing involves complex environmental interactions, requiring careful attention to multiple factors. The curing process is not just about waiting but creating optimal conditions for the sealer to form a robust, protective film:
Maintain consistent temperature between 50-80°F
Control humidity levels to support proper film formation
Avoid foot traffic for at least 24-48 hours
Protect surface from rain, debris, and direct sunlight
Polymer bead coalescence is critical during the curing stage. This scientific process transforms liquid sealer into a continuous, protective membrane. Water-based sealers particularly require stable environmental conditions to achieve maximum performance.
Patience during the curing process directly translates to years of enhanced concrete protection.
Monitor the surface closely during curing. Look for signs of even coloration, lack of tackiness, and uniform appearance. Depending on your specific sealer and environmental conditions, full curing might take up to 72 hours.
Key curing factors and their impact on final sealing quality:
Factor | Ideal Range | Why It Matters |
Temperature | 50–80°F | Ensures consistent curing |
Humidity | Low to moderate | Prevents cloudiness or tackiness |
Traffic | Avoid 24–48 hrs | Prevents surface marks and defects |
Protection | Sheltered area | Shields from rain & debris |
Pro tip: Create a temporary barrier around the sealed area using caution tape or gentle fencing to prevent accidental interference during the critical curing period.
Step 5: Check Sealed Surface for Consistency and Coverage
After applying your concrete sealer, a thorough inspection is essential to ensure a professional-quality finish that will protect your stamped concrete for years to come. This final evaluation confirms the effectiveness of your sealing process.
Surface inspection reveals critical sealing performance details, requiring a systematic and careful approach. Look for these key indicators of a well-sealed surface:
Uniform color across the entire concrete surface
Consistent gloss without blotchy or uneven patches
No visible bubbles or streaking
Complete coverage with no exposed bare concrete areas
Visual assessment is your primary tool for evaluating the sealer’s application. Stand at different angles and use natural light to highlight any imperfections. Check for uniform sheen and smooth texture that indicates proper sealer distribution.
A meticulous inspection now can prevent potential protection failures in the future.
If you notice any inconsistencies, you might need to apply a light additional coat or perform minor touch-ups. Pay special attention to edges, corners, and areas around stamped patterns where coverage might be less uniform.
Pro tip: Photograph the sealed surface in good lighting immediately after application to document its initial condition and serve as a reference for future maintenance.
Protect Your Investment with Expert Stamped Concrete Services
Sealing stamped concrete is essential for preserving its beauty and durability but doing it yourself can be challenging. From thorough surface preparation to choosing the right sealer and ensuring proper curing, each step demands skill and precision to avoid uneven coverage or premature wear. If you want to avoid common pitfalls like bubbling, streaking, or improper sealing that can shorten your concrete’s lifespan, professional help is the key.

Enhance the longevity and appearance of your stamped concrete with the trusted team at BNTS Construction. We specialize in Stamped Concrete and custom masonry work tailored to your needs. Our experts handle everything from surface preparation through to flawless sealing and finishing with meticulous attention to detail. Don’t leave your investment to chance. Visit BNTS Construction now to schedule your consultation and secure concrete surfaces that stand the test of time.
Frequently Asked Questions
How can I clean my stamped concrete surface before sealing it?
To clean your stamped concrete surface, start by removing loose debris with a stiff-bristled broom or leaf blower. Then, power wash the surface to eliminate dirt and grime, ensuring the surface is free of contaminants before sealing.
What type of concrete sealer should I choose for stamped concrete?
Select a concrete sealer based on your desired finish and durability. Topical sealers enhance color and gloss but need more frequent reapplication, while penetrating sealers provide longer-lasting protection without altering the concrete’s appearance.
How do I properly apply concrete sealer to my stamped surface?
Apply the concrete sealer using low-nap synthetic rollers or HVLP sprayers for even coverage. Work in thin, consistent layers, overlapping each pass slightly, and ensure temperatures are above 45°F to achieve the best results.
How long should I let the sealer cure before using my stamped concrete?
Allow the sealer to cure fully for at least 24-48 hours before allowing foot traffic. Maintain a consistent temperature between 50-80°F during the curing process to ensure optimal performance of the sealer.
What should I look for when inspecting the sealed concrete surface?
Check for uniform color, consistent gloss, and a smooth texture across the concrete surface. Look for any bubbles, streaks, or uncovered areas to ensure a professional-quality finish that protects your stamped concrete effectively.
How do I test if my concrete surface is dry enough for sealing?
To test if the surface is dry, place a small piece of clear plastic on the concrete. If no condensation forms underneath after several hours, the surface is ready for sealing.
Recommended
Comments