
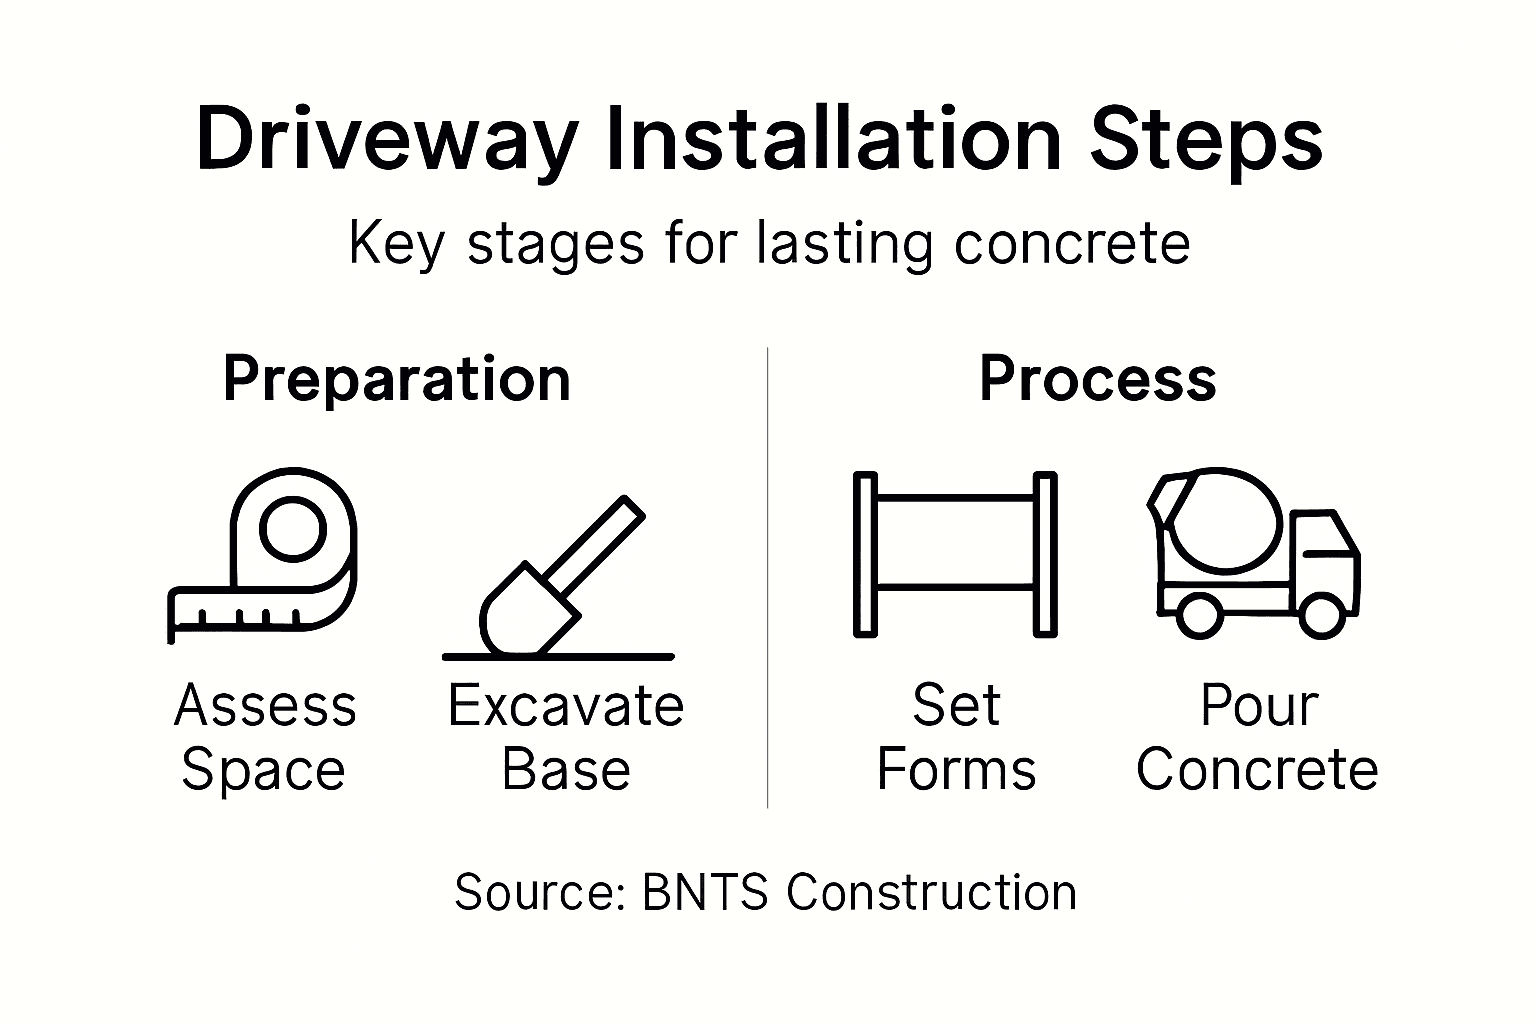
Concrete Driveway Installation Steps for Lasting Results
- banace2494
- Feb 6
- 8 min read
Planning a new concrete driveway in Northern Virginia brings both excitement and important decisions. Careful preparation shapes not only your home’s curb appeal but also how well your driveway stands up to everyday use. This step-by-step guide breaks down each stage, from precise layout planning through expert curing methods, so you can achieve lasting results whether you choose to DIY or partner with trusted local professionals.
Table of Contents
Quick Summary
Important Takeaway | Detailed Explanation |
1. Assess Your Space Carefully | Measure and plan according to property lines and vehicle needs for optimal driveway function and aesthetics. |
2. Properly Prepare the Base | Clear debris and compact soil for a solid foundation, essential for preventing driveway issues in the future. |
3. Reinforce Concrete Effectively | Use wire mesh or rebar to enhance structural integrity, preventing cracks in your driveway over time. |
4. Mix and Pour Concrete Right | Maintain the correct water-to-cement ratio and pour consistently to avoid uneven surfaces and potential driveway failure. |
5. Ensure Proper Curing | Maintain moisture and temperature during curing to achieve optimal strength and durability of the concrete driveway. |
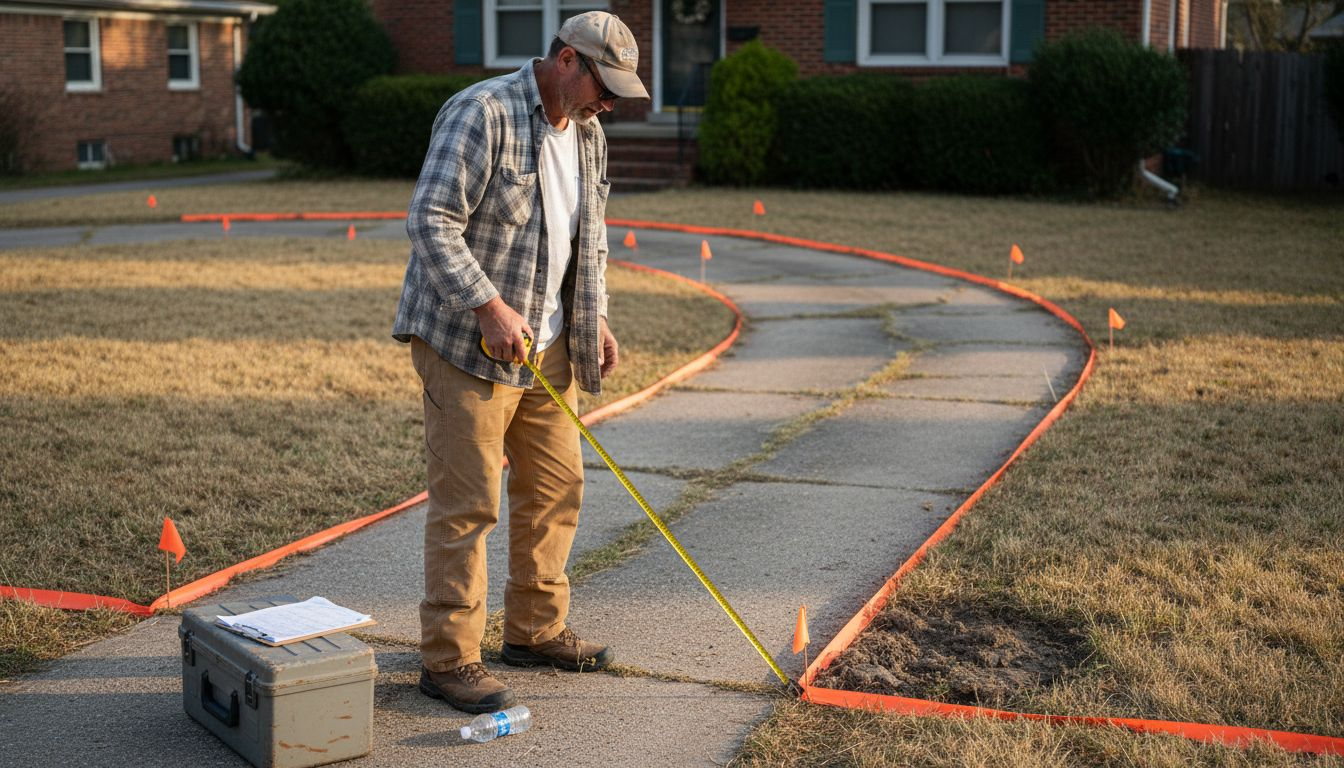
Step 1: Assess Space and Plan Driveway Layout
Planning your concrete driveway begins with a careful assessment of your available space and property layout. A strategic approach ensures you create a functional, aesthetically pleasing driveway that complements your home’s design and meets your specific transportation needs. Concrete driveway experts in Northern VA recommend a systematic evaluation before breaking ground.
Start by measuring the total area where you intend to install the driveway. Consider these critical factors during your initial assessment:
Property line boundaries: Confirm exact measurements and potential setback restrictions
Vehicle turning radius: Ensure sufficient width for smooth entry and exit
Existing landscape features: Account for trees, slopes, drainage patterns
Future vehicle requirements: Plan for current and potential future vehicle sizes
Careful measurement requires precision. Use a professional-grade measuring tape to capture accurate dimensions, recording length, width, and total square footage. Sketch a rough diagram of your proposed driveway, marking key measurements and potential obstacles. This preliminary plan will serve as your blueprint for subsequent installation steps.
Your driveway design should balance functional requirements with aesthetic considerations, creating a seamless transition between your home and street.
Pro tip: Photograph your planned driveway area from multiple angles to help visualize the final design and share accurate information with potential contractors.
Step 2: Excavate Ground and Prepare Base
Excavating and preparing the ground for your concrete driveway is a critical phase that determines the long-term stability and durability of your installation. Proper excavation techniques ensure a solid foundation that will support your vehicles and withstand years of use.
Begin by clearing the designated area completely. This involves removing grass, roots, rocks, and any existing debris that could compromise the driveway’s structural integrity. You’ll want to excavate to a depth of approximately 8-12 inches, depending on your local soil conditions and climate. Key steps in the ground preparation process include:
Remove topsoil: Strip away organic layers completely
Check soil composition: Identify and replace unsuitable soil types
Create proper slope: Ensure 1-2% grade for water drainage
Compact subgrade: Use mechanical compactor for even surface
Precision is crucial during excavation. Measure excavation depth carefully, using stakes and string lines to maintain consistent depth across the entire area. Remove any soft or unstable soil, replacing it with compacted gravel or crushed stone to create a stable base.
Consistent subgrade preparation is the foundation of a durable concrete driveway that will resist settling and cracking over time.
Pro tip: Rent a professional-grade laser level to ensure absolute precision in your excavation and ground preparation, eliminating any potential variations in surface elevation.

Step 3: Set Forms and Reinforce Driveway Area
Setting concrete forms and reinforcing your driveway are crucial steps that determine the structural integrity and longevity of your installation. Reinforced concrete design requires careful planning and precise execution to ensure a durable surface that can withstand heavy loads and environmental stress.
Begin by constructing sturdy wooden forms that will define the precise shape and edges of your driveway. Use pressure-treated lumber for side forms, ensuring they are:
Perfectly straight and level
Securely staked every 3-4 feet
Braced to prevent shifting during concrete pouring
Sized to match your planned driveway dimensions
Reinforcement placement is critical for preventing cracking and distributing structural loads. Typically, you’ll use wire mesh or rebar grid positioned at the center of your concrete thickness. Space rebar approximately 12-18 inches apart, using concrete chairs to maintain proper elevation within the form.
Proper reinforcement and form preparation are the foundation of a professional-quality concrete driveway that will serve you for decades.
Pro tip: Apply a light coating of form release agent to wooden forms before concrete placement to ensure easy removal and prevent concrete from bonding to the wood.
Step 4: Mix and Pour Concrete Evenly
Mixing and pouring concrete requires precision and careful technique to ensure a smooth, durable driveway surface. Concrete mixing and placement demands attention to detail to prevent common issues like segregation and uneven distribution.
Begin by selecting the right concrete mix for your project, typically a 4000 psi mix designed for exterior applications. Rent a mechanical mixer or use a ready-mix truck to ensure consistent blending. Key considerations during mixing include:
Maintain precise water-to-cement ratio
Mix thoroughly to prevent aggregate separation
Check consistency before pouring
Use clean tools and equipment
Pour the concrete systematically across the prepared forms, working in sections and using a concrete vibrator to eliminate air pockets. Spread concrete evenly, maintaining a consistent 4-inch thickness throughout the driveway. Use long-handled screeds to level the surface, moving in sweeping motions to create a smooth, uniform finish.
Proper concrete placement is the difference between a driveway that lasts decades and one that crumbles within years.
Pro tip: Work with a partner during concrete pouring to help manage timing and ensure consistent placement, especially in larger driveway areas.
Step 5: Finish Surface and Apply Decorative Touches
Transforming your concrete driveway from basic to beautiful requires careful surface finishing and strategic decorative techniques. Decorative concrete finishes offer homeowners multiple options to enhance both aesthetics and durability.
Begin by smoothing the concrete surface using a float and trowel, working carefully to create an even texture. Your finishing options include:
Stamped patterns: Imprint designs before concrete fully sets
Colored concrete: Add integral color during mixing
Exposed aggregate: Remove top layer to reveal stone textures
Stained finishes: Apply acid or water-based stains for depth
Timing is critical during surface finishing. Wait until surface water disappears but concrete remains workable. Use long-handled tools to create consistent textures, avoiding overworking which can weaken the surface. For stamped or textured finishes, apply release agents to prevent sticking and enhance pattern definition.
Here is a comparison of common decorative concrete finishes and their benefits:
Finish Type | Visual Appeal | Durability Benefit |
Stamped Patterns | Mimics stone or brick | Hides minor surface flaws |
Colored Concrete | Custom color options | UV-resistant with sealant |
Exposed Aggregate | Natural stone look | Enhanced slip resistance |
Stained Finishes | Rich, varied tones | Long-lasting with proper care |
A well-finished concrete driveway not only looks professional but also resists wear, weathering, and premature deterioration.
Pro tip: Work in cooler parts of the day to prevent rapid drying and ensure optimal finishing conditions for your decorative concrete.
Step 6: Verify Quality and Ensure Proper Curing
The final and critical phase of your concrete driveway installation is ensuring proper curing to guarantee long-term durability and strength. Concrete curing practices are essential for achieving a resilient surface that can withstand years of vehicle traffic and environmental stress.
Curing begins immediately after finishing and involves maintaining optimal moisture and temperature conditions. Your primary objectives include:
Prevent rapid moisture loss: Keep concrete surface damp
Maintain consistent temperature: Avoid extreme heat or cold
Protect surface: Shield from direct sunlight and wind
Monitor hydration process: Ensure complete chemical reaction
Monitor the curing process carefully, using plastic sheeting, wet burlap, or professional curing compounds to retain moisture. Avoid walking on the surface for at least 24-48 hours, and keep vehicles off the driveway for a minimum of 7-10 days to allow proper initial strength development.
Below is a quick-reference table for concrete driveway curing essentials:
Curing Method | Duration | Key Advantage |
Plastic Sheeting | 7-10 days | Retains moisture effectively |
Wet Burlap | 7-10 days | Keeps surface consistently damp |
Curing Compound | 7-10 days | Easy to apply, long-lasting |
Proper curing is not just a step, but the foundation of a driveway that will serve your property for decades.
Pro tip: During curing, periodically mist the concrete surface with water to maintain consistent moisture and prevent premature drying, which can compromise structural integrity.
Achieve Durable and Beautiful Concrete Driveways with Expert Help
Installing a long-lasting concrete driveway demands careful planning, precise excavation, and expert finishing techniques to prevent cracking and ensure proper curing. If you are facing challenges with assessing space, setting forms, or applying decorative touches as discussed, you are not alone. Many homeowners seek professional guidance to turn these critical steps into a smooth, worry-free process that guarantees strength and curb appeal.
At BNTS Construction, we specialize in concrete solutions including stamped and regular concrete, masonry, custom patios, and foundations. Our experienced team uses industry best practices to address common pain points like ground preparation and finishing quality. We understand that a properly reinforced, precisely poured driveway not only improves your home’s value but also provides lasting peace of mind.
Get your driveway project off to the right start and ensure it stands the test of time.
Experience expert concrete driveway installation today.

Ready to transform your property with a strong, beautiful concrete driveway? Contact us now for professional consultation and services that match your exact needs. Don’t wait for cracks or settling to appear. Visit BNTS Construction and make your driveway investment count.
Frequently Asked Questions
What is the first step in concrete driveway installation?
Begin with assessing your space and planning the driveway layout. Measure the area, considering factors like property line boundaries, vehicle turning radius, and existing landscape features before creating a preliminary diagram of your proposed driveway.
How deep should I excavate for a concrete driveway?
Excavate the ground to a depth of approximately 8 to 12 inches, depending on your soil conditions and climate. Make sure to remove any topsoil, roots, and debris, then compact the subgrade for stability.
What should I use to reinforce my concrete driveway?
Use wire mesh or rebar to reinforce your concrete driveway, positioning it at the center of the concrete thickness. Space the rebar 12 to 18 inches apart to effectively distribute structural loads and prevent cracking.
How do I properly cure my concrete driveway after installation?
Cure the concrete by maintaining optimal moisture and temperature conditions for 7 to 10 days after finishing. Use plastic sheeting, wet burlap, or a curing compound to protect the surface and monitor hydration to ensure a durable driveway.
How can I enhance the appearance of my concrete driveway?
You can enhance your concrete driveway’s appearance by applying decorative finishes like stamped patterns, colored concrete, exposed aggregate, or stained finishes. Start by smoothing the surface and consider using release agents to enhance definition and prevent sticking during the finishing process.
How long should I wait before driving on my new concrete driveway?
Wait at least 7 to 10 days before allowing vehicles on your new driveway to ensure it gains sufficient strength. Proper curing during this period is crucial for avoiding premature deterioration.
Recommended
Comments