
How to Build Concrete Patio for Lasting Outdoor Beauty
- tbsinfotech5
- Jan 25
- 12 min read
Soggy ground and unsightly cracks can turn any patio dream into a costly Northern Virginia headache. Homeowners searching for style and long-lasting durability often face unpredictable weather that tests even the best concrete surfaces. Tackling smart assessment and site design up front helps you create an outdoor space that stands strong against relentless rain and dramatic temperature swings while adding modern beauty with decorative stamped concrete options.
Table of Contents
Quick Summary
Key Point | Explanation |
1. Assess Site Conditions Carefully | Evaluate flatness, drainage, and soil types to ensure a durable foundation. |
2. Proper Ground Preparation is Crucial | Clear debris and compact soil to create a stable base for your patio. |
3. Pour Concrete in Optimal Conditions | Mix and place concrete during moderate temperatures to avoid cracking. |
4. Apply Decorative Finish Promptly | Apply stamps or finishes while concrete is workable to enhance aesthetics. |
5. Regular Inspections and Maintenance | Inspect and maintain regularly to address small issues before they escalate. |
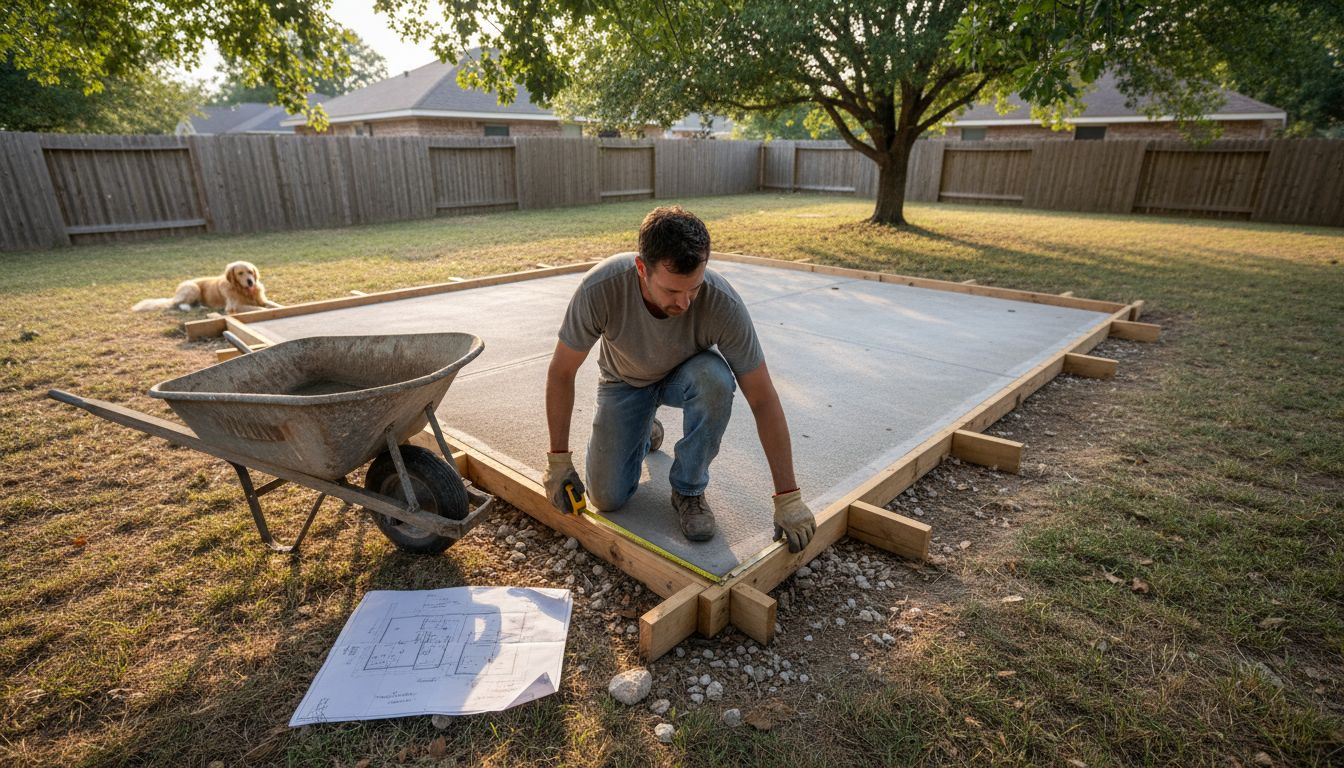
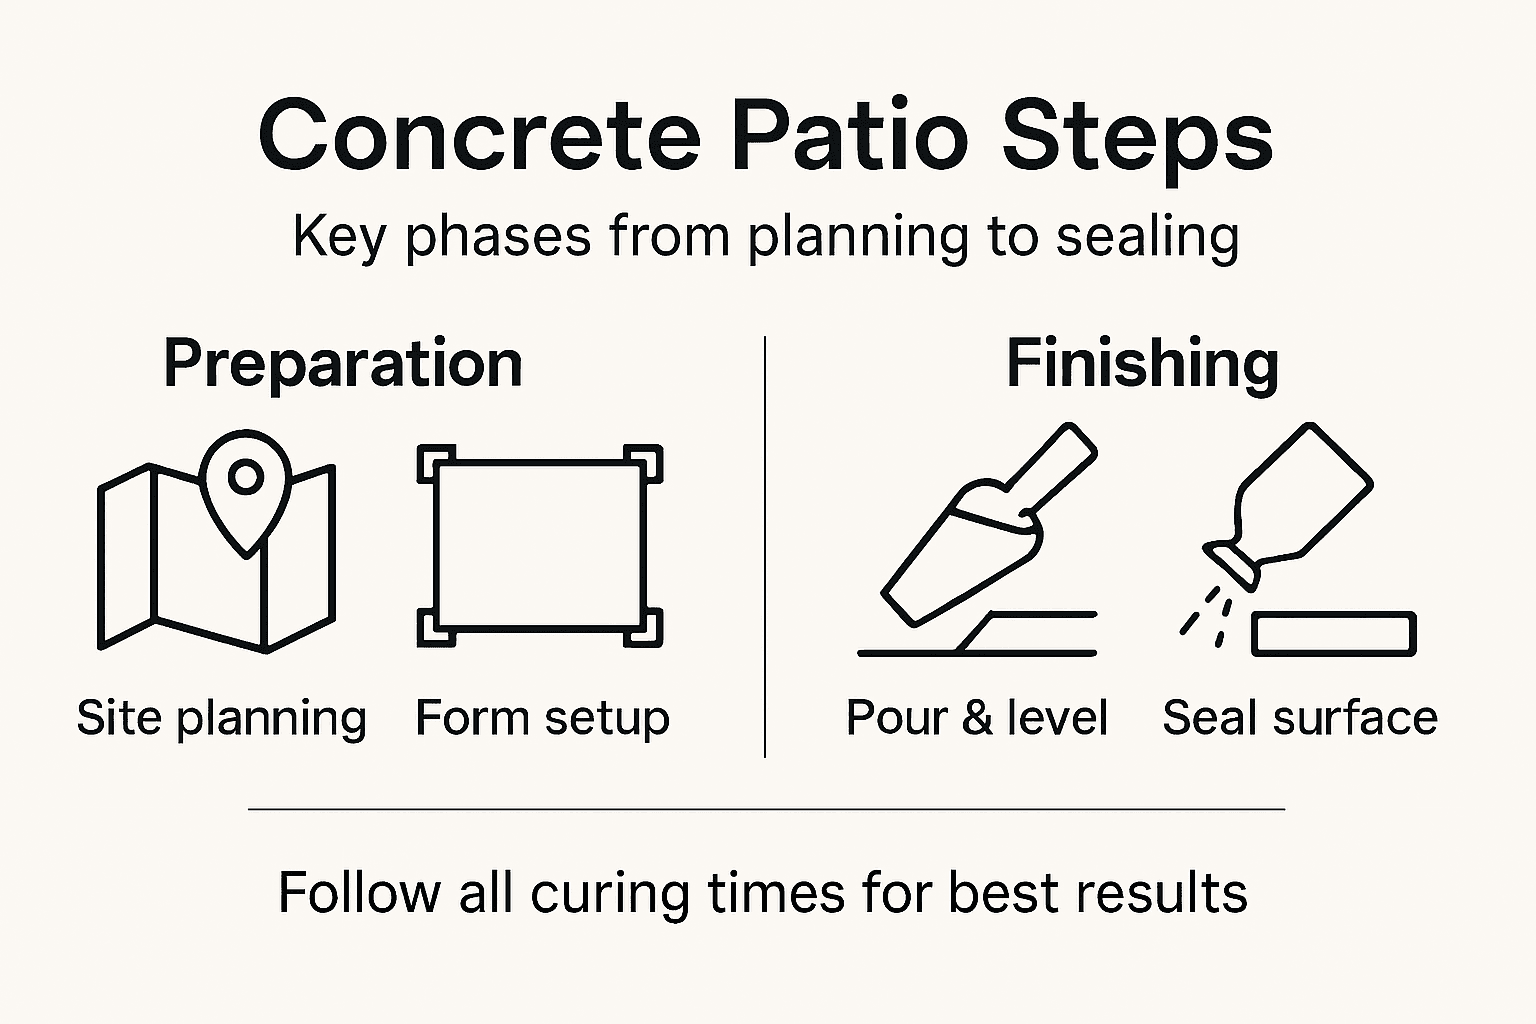
Step 1: Assess and Design the Patio Area
Before you pour a single shovelful of concrete, you need to understand what you’re working with. The assessment phase determines whether your patio will last 10 years or 30 years, so this matters more than you might think. You’ll be evaluating your site for flatness, drainage patterns, and soil conditions that could affect how your concrete performs over time. This is where the foundation of success gets built, literally.
Start by walking your intended patio space during or after a rainstorm. Watch where water naturally flows. Does it pool in certain areas? Does it drain quickly? Poor drainage is a silent killer for concrete patios in Northern Virginia’s climate, where freeze-thaw cycles can crack poorly draining surfaces. Next, grab a level and check the slope of your ground. Ideally, you want a gentle slope away from your home (about 1 inch of drop per 8 feet) to encourage water runoff. Consider your soil type too. Clay soil behaves differently than sandy soil when it comes to settling and movement. If you’re building near existing landscaping or hardscape features, think about how your new patio complements the flow of your yard rather than fighting against it. Evaluating site conditions including soil type and drainage characteristics gives you the information needed to design a patio that actually performs, not one that develops cracks within a few seasons.
Now sketch out your dimensions and shape. Measure twice, mark your corners with string or chalk, and step back to visualize the space. Will it flow naturally from your existing deck or patio door? A 12 by 16 foot patio works well for most Northern Virginia homes, providing enough space for a table and chairs without overwhelming a standard yard. Consider incorporating trendy surface design techniques if you want visual interest. Think about expansion joints too. These purposeful breaks in your concrete prevent random cracking as the material expands and contracts with temperature changes. Plan for joints every 4 to 6 feet, depending on your patio size. Finally, confirm your plan accounts for any structures nearby, utility lines buried underground, and how water will behave once it leaves your patio area.
Pro tip: Sketch your design on graph paper with actual measurements before you mark anything on the ground; this 10-minute step prevents expensive mistakes and ensures your patio aligns with your home’s sightlines.
Here’s a summary of key patio design considerations and their effects:
Aspect | Why It Matters | Impact on Longevity |
Site Flatness | Prevents uneven settling | Reduces crack formation |
Drainage Patterns | Directs water flow | Prevents water damage |
Soil Type | Affects stability | Influences surface shifts |
Expansion Joints | Controls cracking | Maintains surface quality |
Patio Dimensions | Determines usability | Affects overall structure |
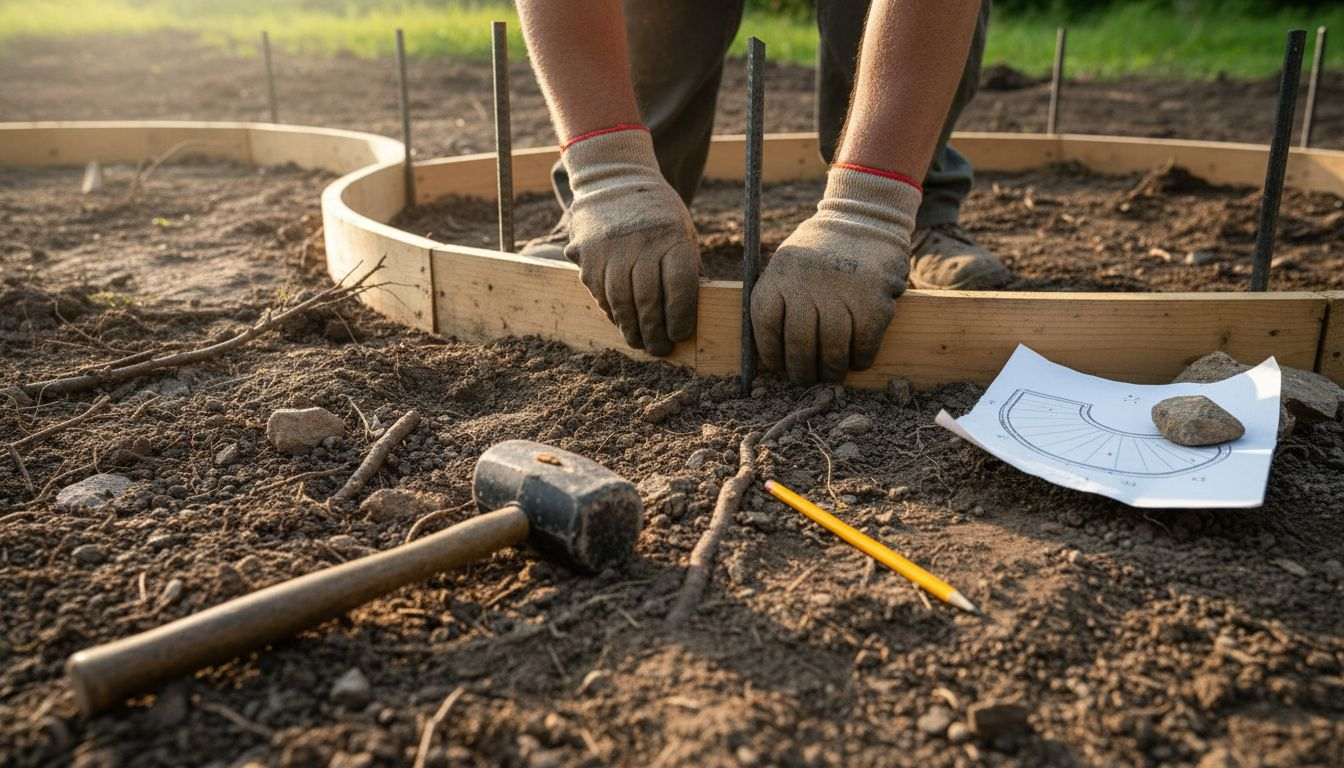
Step 2: Prepare the Ground and Formwork
This is where patience pays off. The ground preparation you do now directly determines whether your patio stays flat and crack-free for decades or starts showing problems within a few years. You’ll be clearing away everything loose, compacting the soil beneath, and building sturdy forms to contain your concrete. Think of it as creating the stage upon which your beautiful patio will perform.
Start by clearing your patio area completely. Remove sod, rocks, roots, and debris down to bare soil. Yes, this is tedious work, but shortcuts here cause problems later. Once you’ve cleared the space, inspect the soil. If it feels loose or spongy underfoot, you’re working with unstable ground. You’ll need to compact it properly using a hand tamper or renting a mechanical compactor. Compact in layers, working your way across the entire area multiple times. The goal is firm, settled ground that won’t shift under the weight of concrete and foot traffic. After compacting, add a 4 to 6 inch base layer of gravel or sand. This base layer stabilizes the patio foundation and provides crucial drainage. Spread it evenly and compact it the same way you compacted the soil.
Now comes the formwork. This is the structure that holds your concrete in place while it cures. You can use 2 by 4 inch lumber, which is affordable and works well for most residential patios in Northern Virginia. Position your forms along the perimeter of your patio, using stakes hammered into the ground to hold them secure. This is critical: your forms must be level and aligned accurately to maintain dimensions and slopes. Use a level to check both directions. Your forms should slope very slightly away from your house (that 1 inch per 8 feet we discussed earlier). Double-check that forms are properly braced to withstand the lateral pressure of wet concrete. Secure corners with nails or screws, and make sure stakes are driven deep enough that they won’t move during the pour. The formwork prevents concrete from spreading unevenly and ensures clean, straight edges on your finished patio.
Pro tip: Wet your compacted base layer lightly before pouring concrete; this helps the fresh concrete bond properly and reduces the chance of air pockets forming underneath.
Step 3: Mix and Pour the Concrete
This is where your patio comes to life. Mixing and pouring concrete is the pivotal moment that transforms your preparation work into actual pavement. You’ll be combining the right proportions of cement, sand, aggregate, and water to create a strong, durable mixture, then placing it into your forms before it hardens. The quality of your mixing and pouring directly affects how well your patio performs over the next few decades.
Start by determining your concrete needs. For a 12 by 16 foot patio that’s 4 inches thick, you’ll need roughly 2.4 cubic yards of concrete. Most homeowners in Northern Virginia order ready-mix concrete delivered by truck rather than mixing by hand, which is smarter for larger projects. When your truck arrives, the concrete has already been proportioned using proper mixing methods that ensure strength and durability. Before pouring begins, wet down your base and forms lightly so they won’t absorb water from the fresh concrete. As the concrete arrives, direct placement as close to its final position as possible. Move the concrete minimally during placement to avoid segregation, which is when heavier aggregate separates from the cement paste and weakens your patio. Avoid dragging concrete across your forms or over long distances. Work methodically across your patio, filling from one end toward the exit point. Keep the concrete level as you go, slightly overfilling your forms by about half an inch.
Once your forms are full, screeding comes next. A screed board is simply a straight piece of 2 by 4 lumber that spans across your forms. Pull it toward you in a sawing motion while applying downward pressure, using your forms as guides. This levels the concrete surface and works out air pockets. You may need to go over the surface multiple times, adding concrete to low spots as needed. Finishing should be carried out promptly after placement to develop a hard, flat surface that resists wear. After screeding, the concrete still needs additional finishing with floats and brooms, but that happens immediately after, while the surface is still workable. The coordination between placement, screeding, and finishing determines whether you end up with a beautiful, flat patio or one with problems that multiply over time. This is also the moment when you might consider stamped concrete patterns if you want decorative detail added to your finished surface.
Pro tip: Pour concrete on a day when temperatures are between 50 and 85 degrees Fahrenheit; extreme heat causes rapid evaporation and cracks, while cold temperatures slow curing and weaken the final result.
Step 4: Apply Decorative Stamping or Finish
This is where your patio transforms from a functional slab into a stunning outdoor feature. Decorative stamping and finishing options let you customize the appearance while maintaining the durability that concrete provides. Whether you choose stamped patterns that mimic natural stone, integral coloring, or a simpler textured finish, this step determines the visual impact your patio makes on your outdoor space for years to come.
Timing is everything with decorative work. You need to apply stamps or finishes while the concrete is still in the right state. If you waited too long and the concrete hardened completely, you’ve missed your window. For stamping, the concrete should feel firm but still have some give when you press on it. Think of it like a pool noodle that’s been compressed. Start by misting the concrete surface lightly with water and applying a release agent, which prevents the stamps from sticking. Position your first stamp carefully, then press it down firmly and evenly using a tamper or striking tool. Work in a logical pattern across your patio, overlapping stamps slightly to create seamless coverage. Northern Virginia homeowners often choose patterns that echo their landscaping, like flagstone or slate textures. Stamping concrete to mimic natural stones or bricks creates a cost-effective alternative to actual masonry while providing superior durability. Remove each stamp by pulling straight up to avoid smudging the pattern.
After stamping or basic finishing is complete, you’ll want to apply a sealer once the concrete cures. Sealing is not optional if you want lasting beauty. A good sealer protects against water penetration, freeze-thaw damage, staining, and UV fading. This matters enormously in Northern Virginia, where winter moisture and summer sun both take their toll. Most professionals recommend waiting 28 days before sealing to allow the concrete to cure fully. When you apply sealer, use a roller or sprayer to achieve even coverage, working in small sections. Consider stamped concrete design options that complement your home’s architecture and landscape style. A sealed, properly finished patio resists staining, stays cleaner longer, and maintains its color and texture beautifully. This final touch separates patios that look neglected after a few years from those that look like new even after a decade.
Pro tip: Apply sealer on an overcast day or in the early morning when temperatures are moderate; direct sunlight can cause sealer to dry too quickly and leave streaks or uneven coverage.
Step 5: Cure and Seal the Surface
Curing and sealing are where patience becomes your greatest asset. These final steps determine whether your patio remains beautiful and durable for decades or deteriorates within a few years. During curing, the concrete is still developing strength as the cement hydrates. During sealing, you protect all that hard work from the elements. Both processes are non-negotiable if you want a patio that truly lasts.
Start curing immediately after finishing. The goal is simple: keep the concrete moist and at a moderate temperature so it can hydrate properly. Maintaining moisture and temperature conditions allows the cement to develop full strength and prevents premature cracking from rapid drying. You have several curing options. The simplest method involves covering the patio with plastic sheeting weighted down at the edges, which traps moisture inside. Mist the surface with water several times daily if you’re not using plastic. Another approach uses curing compounds, which are liquid membranes you spray on the surface. These compounds seal in moisture while still allowing the patio to breathe. In Northern Virginia’s climate, where summer heat can accelerate evaporation and winter cold slows curing, keeping moisture consistent matters enormously. Aim to cure for at least 7 days for basic strength, but ideally 28 days for full strength development. During this time, keep foot traffic and vehicle traffic completely off the patio. Even light walking can damage concrete that’s still curing.
After curing completes and the concrete has fully hardened, sealing time arrives. Sealing prevents moisture penetration and surface cracks while creating a dense, weather-resistant surface. Choose a good quality penetrating sealer or topical sealer depending on whether you want a glossy finish or natural appearance. Penetrating sealers soak into the concrete while topical sealers sit on the surface. Apply sealer evenly using a roller or sprayer, working in small sections to avoid lap marks. You might also consider professional concrete sealing services if you want guaranteed results and expert application. One coat usually suffices, though high-traffic areas benefit from resealing every 2 to 3 years. A properly sealed patio resists staining, handles freeze-thaw cycles better, and stays vibrant longer. This final investment of time protects your investment in the entire patio.
Pro tip: Don’t rush the curing phase by walking on the patio early; concrete gains most of its strength in the first week but continues strengthening for months, and premature traffic can permanently weaken the surface.
Compare patio sealing methods for Northern Virginia homes:
Sealing Method | Application Technique | Durability Level | Finish Type |
Penetrating Sealer | Roller or sprayer | High, resists moisture | Natural appearance |
Topical Sealer | Roller or sprayer | Medium, needs resealing | Glossy finish |
Professional Service | Trained specialists | Highest, warranty offered | Custom options |
Step 6: Inspect and Maintain the Patio
Your patio is now complete, but the work isn’t finished. Regular inspection and maintenance determine whether your investment stays beautiful and functional for 20 plus years or starts deteriorating within a few seasons. Think of this as preventive care for your outdoor space. Small issues caught early cost far less to fix than major damage ignored until it becomes structural.
Begin with a thorough initial inspection after the patio has fully cured and you’ve given it a few weeks of use. Walk the entire surface looking for cracks, uneven spots, or areas where the sealer isn’t adhering properly. Check where water pools after rain. Does it drain as intended, or are there low spots developing? Look at the edges and corners where the patio meets your lawn or other hardscaping. Quality of curing and finishing directly affects the surface conditions you’ll observe during inspection. Small hairline cracks are normal and typically harmless. Wider cracks or cracks that continue to spread warrant attention. Also examine your sealer by sprinkling water on the surface. If water beads up, the sealer is working. If it soaks in, resealing is needed soon. Document what you find with photos and notes. This baseline helps you track changes over time.
Establish a seasonal maintenance routine. Spring should include a thorough cleaning with a pressure washer at moderate pressure (under 3000 PSI to avoid damage). Remove leaves, dirt, and organic growth that can trap moisture. Summer requires watching for pooling water after heavy rains and addressing any drainage issues immediately. Fall demands clearing debris before leaves decompose and stain the surface. Winter in Northern Virginia means being extra vigilant about ice melt products, which can damage concrete. Use calcium chloride rather than rock salt, and rinse the patio after winter weather passes. Critical inspection areas include cracks, surface abrasion, and seal integrity that require regular checking. Seal cracks as they appear using concrete crack filler. Reseal the entire patio every two to three years depending on foot traffic and wear. A well-maintained patio that receives consistent attention stays in excellent condition and actually increases in value as part of your home’s outdoor living space.
Pro tip: Keep a simple maintenance log noting when you clean, seal, and repair your patio; this record helps you identify patterns and shows potential buyers the care you’ve invested if you ever sell your home.
Bring Your Concrete Patio Vision to Life with Expert Craftsmanship
Building a concrete patio that stands the test of time requires more than just mixing and pouring. The detailed planning steps, such as assessing site drainage, preparing a solid base, installing proper expansion joints, and applying professional finishing techniques like stamped concrete, are essential to avoid cracking and premature wear. At BNTS Construction, we understand the challenges that homeowners face trying to create durable and beautiful outdoor spaces in Northern Virginia’s climate. Our expertise in Stamped Concrete and regular Concrete ensures your patio will have the lasting beauty and functionality you desire.

Don’t risk costly mistakes on your patio project. Let BNTS Construction handle your custom patio, foundation, or masonry needs with precision and care. From site evaluation to expert curing and sealing, we’re here to guide you every step of the way. Visit our website now to explore our services and schedule your consultation. Your dream patio is just one call away.
Frequently Asked Questions
How do I assess the site for building a concrete patio?
Start by evaluating your patio area for flatness, drainage patterns, and soil conditions. Walk the space after a rainstorm to observe water flow and check for pooling, then use a level to confirm a gentle slope away from your home for proper drainage.
What preparation is needed before pouring concrete for a patio?
Prepare the ground by clearing the area of sod, rocks, and debris, then compact the soil to create a stable foundation. Add a 4 to 6 inch layer of gravel or sand before building sturdy forms to hold your concrete in place.
How do I mix and pour the concrete for my patio?
Order the appropriate amount of ready-mix concrete and ensure your base and forms are slightly wet prior to pouring. Pour the concrete into your forms, screed the surface with a straight piece of lumber, and finish with floats and brooms while the concrete is still workable.
When should I apply decorative stamping or finish to my concrete patio?
Apply decorative stamping when the concrete feels firm but still has some give, similar to a compressed pool noodle. Mist the surface with water, use a release agent, and apply your chosen stamps in a consistent overlap pattern to ensure a seamless look.
How do I properly cure and seal my concrete patio?
Cure the concrete immediately after finishing by keeping it moist for at least 7 days; consider covering it with plastic sheeting to retain moisture. After the curing period, apply a high-quality penetrating or topical sealer to protect your surface and enhance its longevity.
What maintenance do I need to perform on my concrete patio?
Inspect your patio regularly for cracks or surface damage, especially after heavy rains. Establish a seasonal cleaning routine with pressure washing and apply a fresh sealer every 2 to 3 years to maintain its appearance and durability.
Recommended
Comments